
That’s exactly how I found THESE.

 I saw them in a picture a friend posted on Facebook…. that she was selling at a garage sale…. so, yes, I went.
I ended up buying those for $2 each, and two wagon wheel light fixture things for $5. (Those are still untouched.)
The spools sat in my garage for at least a month, maybe two, before I did anything with them.
Percolating, again.
The day I pulled them out, I knew what I wanted to do. But first, I had to CLEAN them.
Check.
I got all smart and hooked my Shop-Vac hose up to the other side, you know, the blowing side…. and blasted the dust, dirt, spiders, spiderwebs and other not so pretties right off the surface and out of the middle. (That blasting was really cool, BTW.)
Then I sanded them, and figured out how I was going to attach them together to make a table. They are too shallow to do much else. After I finally got them attached and leveled (that was not easy, and in the pictures, they don’t look level, but they ARE) I painted them white. Then I sanded again.
So far my cost for this project was $6.00. (White paint, nuts, and bolts.) Well, $14.00 if you count the clamp that I broke while trying to hold the two pieces together during the attachment stage. But I’m not counting that. So $6.00 in, and I need rope. The project is now at a stand still since I can’t just run to Lowe’s quickly. It’s a 55 minute drive. When I finally make it to Lowe’s a couple days later, I get two bags of rope. Yes, bags. 100 feet. Well, that wasn’t enough, so long story short, the table sat in the garage half completed for another two weeks until I found myself at Lowe’s again, to buy another bag of rope. I actually bought two, just in case. Well, at $9.00 a bag, that’s a total of $42.00 I now have invested in this project. To tell you the truth, I’m not even loving the project. It just doesn’t look right. Once I get the rope all the way attached, I find I didn’t even need the 4th bag. Yay! Cost back down to $33.00!! Here is what it looked like at this point:
 Still not loving it. I was going to personalized the top with something, whether it was “Razorbacks, Scrappers, Family,” or whatever I thought might sell when I do sell it…. but then I got to thinking. I want it in my house, after all, I put all this work into it! 🙂 So I hauled it inside, put it in it’s new home, and I down right hated the look. It blended in too much. There is a spot at the end our our hallway that is so blah and boring… no color… and THIS didn’t help. I hauled it right back out to the garage just in case there were any creepy crawlies in there still.
What to do? THIS. THIS made it PERFECT!

I LOVE IT. LOVE LOVE LOVE it! I hooked up the blowing hose on the Shop Vac… blew a bunch of dust and yuck off… wiped it down… took it inside… and here it is in it’s new home. I absolutely love what it’s done for the corner of the hallway. Blah and boring to a POP of color… and a great place to house even more cute pictures of my kiddos. 🙂 (The lighting is bad, the hall isn’t this yellow.)
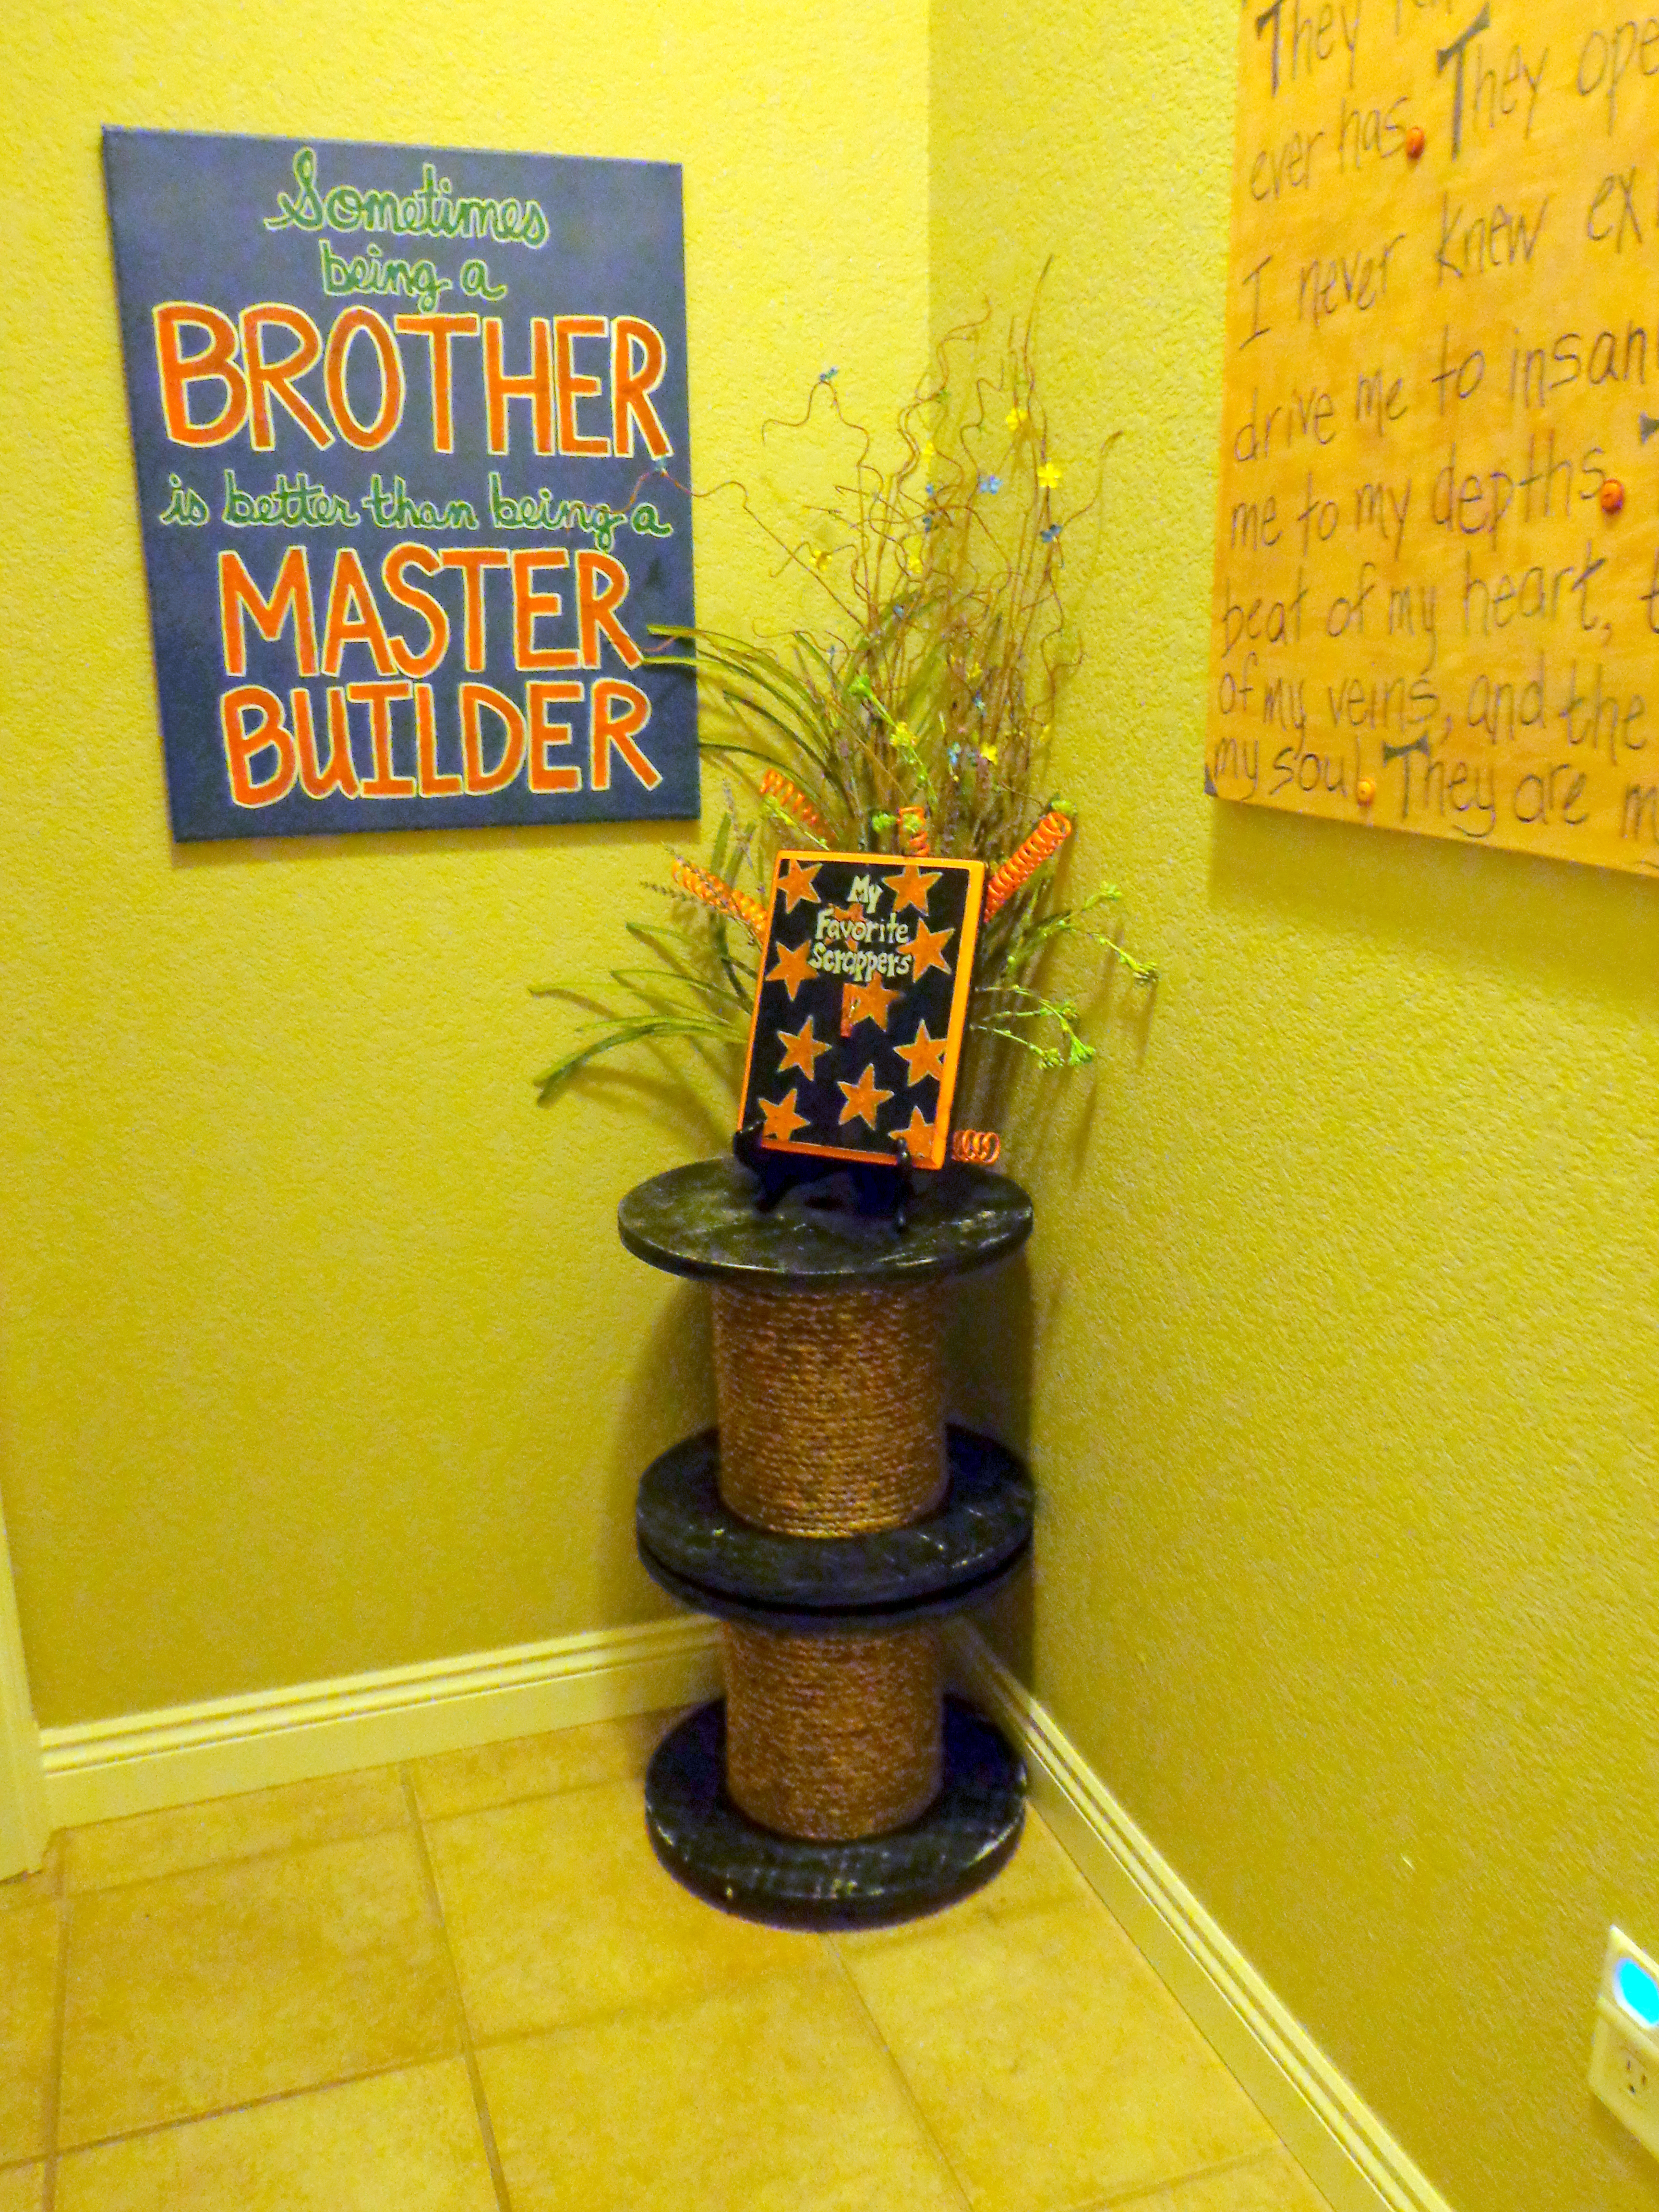
A total cost of $36.00 after all the paint, hardware and varnish were purchased, and I’m proud of it!
